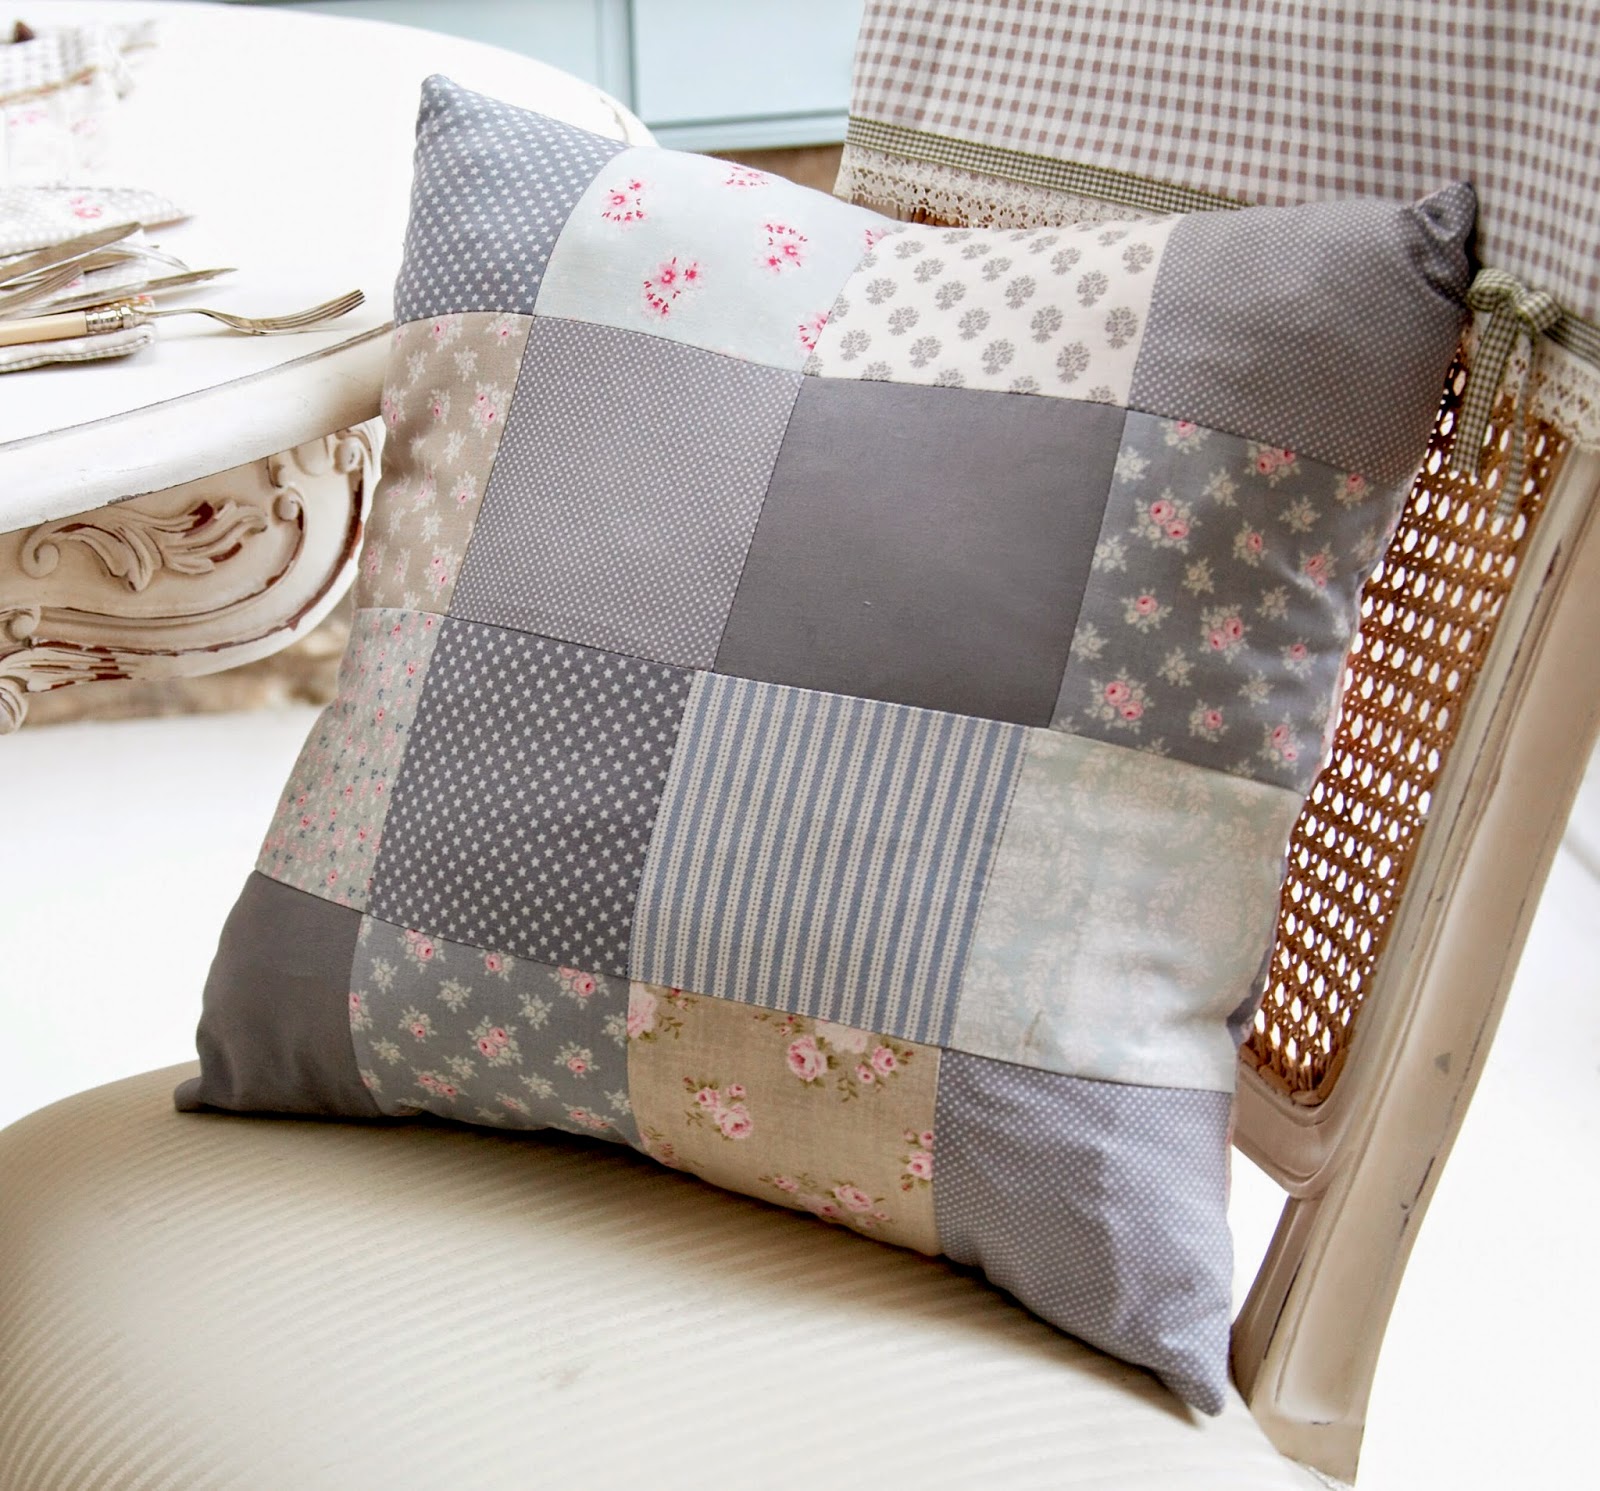
Measuring and Cutting the Fabric: How To Sew A Chair Cushion Cover

Now that you’ve chosen your fabric, it’s time to measure and cut it to the perfect size for your cushion cover. This step ensures a snug fit and a polished look.
Measuring the Existing Cushion
First, you need to measure your existing cushion to determine the fabric dimensions you’ll need. Here’s how:
- Length: Measure the longest side of your cushion. This will be the length of your fabric piece.
- Width: Measure the shortest side of your cushion. This will be the width of your fabric piece.
- Height: If your cushion has a noticeable height, measure it. This will be used to determine the amount of fabric needed for the sides of your cushion cover.
Calculating Fabric Dimensions with Seam Allowance
Once you have your cushion measurements, you’ll need to add seam allowance to ensure a comfortable fit and clean finish. Seam allowance is the extra fabric you need to fold and sew the edges together. A standard seam allowance is ½ inch (1.27 cm), but you can adjust it based on your preference and the thickness of your fabric.
To calculate the fabric dimensions, add the seam allowance to both the length and width of your cushion measurements. For example, if your cushion is 18 inches long and 12 inches wide, and you’re using a ½ inch seam allowance, your fabric dimensions will be 19 inches (18 + 0.5 + 0.5) long and 13 inches (12 + 0.5 + 0.5) wide.
Cutting the Fabric, How to sew a chair cushion cover
Now that you have your fabric dimensions, you can cut your fabric pieces. There are two main methods for cutting fabric: using a rotary cutter or scissors.
- Rotary Cutter: Rotary cutters are excellent for cutting large pieces of fabric quickly and accurately. To use a rotary cutter, you’ll need a cutting mat and a ruler. Place your fabric on the cutting mat, align your ruler with the desired dimensions, and carefully cut along the ruler using the rotary cutter.
- Scissors: Scissors are also a great option for cutting fabric. For best results, use sharp fabric shears. Place your fabric on a flat surface, fold it in half if necessary, and carefully cut along the desired dimensions.
Sewing the Cushion Cover

Now that you have your fabric pieces cut and ready, it’s time to stitch them together to create your beautiful new cushion cover. Let’s dive into the sewing process and bring your vision to life!
Sewing the Sides
This is where you’ll start assembling the fabric pieces into the cushion cover shape. Here’s a step-by-step guide to help you:
- Pin the fabric pieces together. Place the two long sides of the fabric right sides together. Use pins to hold the fabric securely in place. Make sure the raw edges are aligned, and there are no twists or folds.
- Sew the sides. Sew along the pinned edge using a straight stitch. Keep your stitching a consistent distance from the edge, about 1/4 inch (6 mm) is a good standard. This creates a neat and secure seam. Remove the pins as you sew.
- Press the seams. After sewing, press the seams open to create a flat and professional finish. You can use a steam iron or a dry iron.
Sewing the Bottom
Next, you’ll be attaching the bottom piece to complete the cushion cover. This is a crucial step to ensure a strong and lasting cover.
- Pin the bottom fabric piece. Place the bottom fabric piece right side down, aligning the raw edge with the raw edge of the sewn sides. Use pins to secure the fabric.
- Sew the bottom. Sew along the pinned edge using a straight stitch, just like you did for the sides. Make sure your stitching is even and secure.
- Press the seam. Press the seam open for a neat finish.
Finishing the Edges
Now, you’ll finish the edges of your cushion cover to prevent fraying and give it a polished look. Here’s how:
- Zigzag stitch the edges. Use a zigzag stitch on your sewing machine to secure the raw edges of the fabric. This helps prevent the fabric from fraying and gives the edges a finished look. You can adjust the width and length of the zigzag stitch to your preference.
- Overcast stitch the edges. This technique uses a long, loose stitch to secure the raw edges. It’s a good option if you don’t have a zigzag stitch on your sewing machine.
- Serger the edges. If you have a serger, you can use it to finish the edges for a professional look. Serging creates a neat and secure edge, and it’s also a faster way to finish the edges than zigzag stitching or overcasting.
Inserting the Cushion Filling
You’re almost there! This is the exciting part where you add the cushion filling and bring your creation to life.
- Turn the cover right side out. Carefully turn the cushion cover inside out through the opening you left for the filling.
- Insert the cushion filling. Place the cushion filling inside the cover. You can use a variety of fillings, such as foam, fiberfill, or even buckwheat hulls.
- Close the opening. You can close the opening with a zipper, buttons, or a simple seam. If you’re using a zipper, sew it into the opening before turning the cover right side out. If you’re using buttons, sew them on after turning the cover right side out. If you’re using a seam, fold the edges of the opening inward and sew them together using a straight stitch.
